Experiencing beauty in your creative life

Wednesday, June 13, 2012

A Box for a Baby

Hello everyone, thanks for stopping by to check in on today's project.  This little box started out as just a plain chipboard box - the old fashion school box kind - It is a super basic project, I measured the top, bottom and sides of the box and cut some pretty papers fit.  These are from Pink Paislee . 


A little garden green card stock from CTMH added nice detail to edges of the top.  The butterflies are cut from the scraps and then the bodies were glued to allow the wings to "flutter".  When the box is open you can see this little dress form paper clip. I so love this clip.  I attached it with a little bit of Glossy Accents . 


The card slips into the clip for pretty presentation.  A great way to give a thick card.


   Pearl beads seemed to give it the prefect little lift it needed.


I can't end this post without showing the precious little goodies that were given in this box.  As the mother of two boys I had the time of my life shopping for these...


I hope that you have enjoyed this little bit of girly stamping.  Do you have any ideas for covering gift boxes?  I would love to hear about them.

Until next time,
j


&

UNCOMMON

&

SABlink-party

&
Wildflowers and Whimsy

Saturday, June 9, 2012

How about a little stamping and paper project?

Looking back at recent posts I realized that I have been neglecting my favorite medium...paper and stamps!  So today I want to share a little paper project.  Believe it or not the bones of this little beauty are the components of an old ribbon spool.


Here it is in it's original from and deconstructed.

Be careful not to tear the main parts of the structure, the top layers of paper may tear, but that is okay.


A big shot die cut machine was used to cut the two disks from the spool into  big scalloped circles, then four pattern paper scallop circles were cut to make one for each side of each disk.  Papers shown are from French General .  (On a side note if you have never been to the French General web site I encourage you to go now, well, maybe right after you are done here.  It's so beautiful and the products unbelievable!  And even better yet...If you order something ~ you will feel like it is Christmas morning when it arrives.  They package everything so beautifully, it makes you feel very special.)  A strip of coordinating paper from the same package was cut to fit around the inside and outside of the body of the spool.


Then two more small scallop circles were cut from yet another coordinating paper (I'm telling you this paper is to die for!)  The smaller circle was attached to the inside of the lid with foam tape.  This simply helps keep the lid from sliding off the top.


In the shot above you can see that the ring has been glued to one of the scallop circles.  Two circles of fluffy felt were gently glued into the bottom of the box to keep treasures from rolling around and getting scratched.  The top of the box was decorated with a stamped banner, some crinkled ribbon and a prima flower .  Then all it needed was a beautiful gift to go inside.


Do you have a favorite home made way to give a gift?  I would love to hear about it, or better yet see it.  If you email me a photo, I would love to share it here.


Have a wonderful weekend!
jamie


linking up at
UndertheTableandDreaming


Sunday, June 3, 2012

Graduation Garland and other Goodies

A few weeks ago I shared some photos I edited on PicMonkey for my son's graduation.  Today I have some photos of the decorations that I made for his party.  This is a long one folks - but I hope it's worth it.

We had the party at Cartwright's Ranch House in Denton.  It has a country feel so I didn't hesitate to use some of that muslin and burlap I had laying around the house.  Here is a photo of one of the pennants I made for a K-12 bunting.


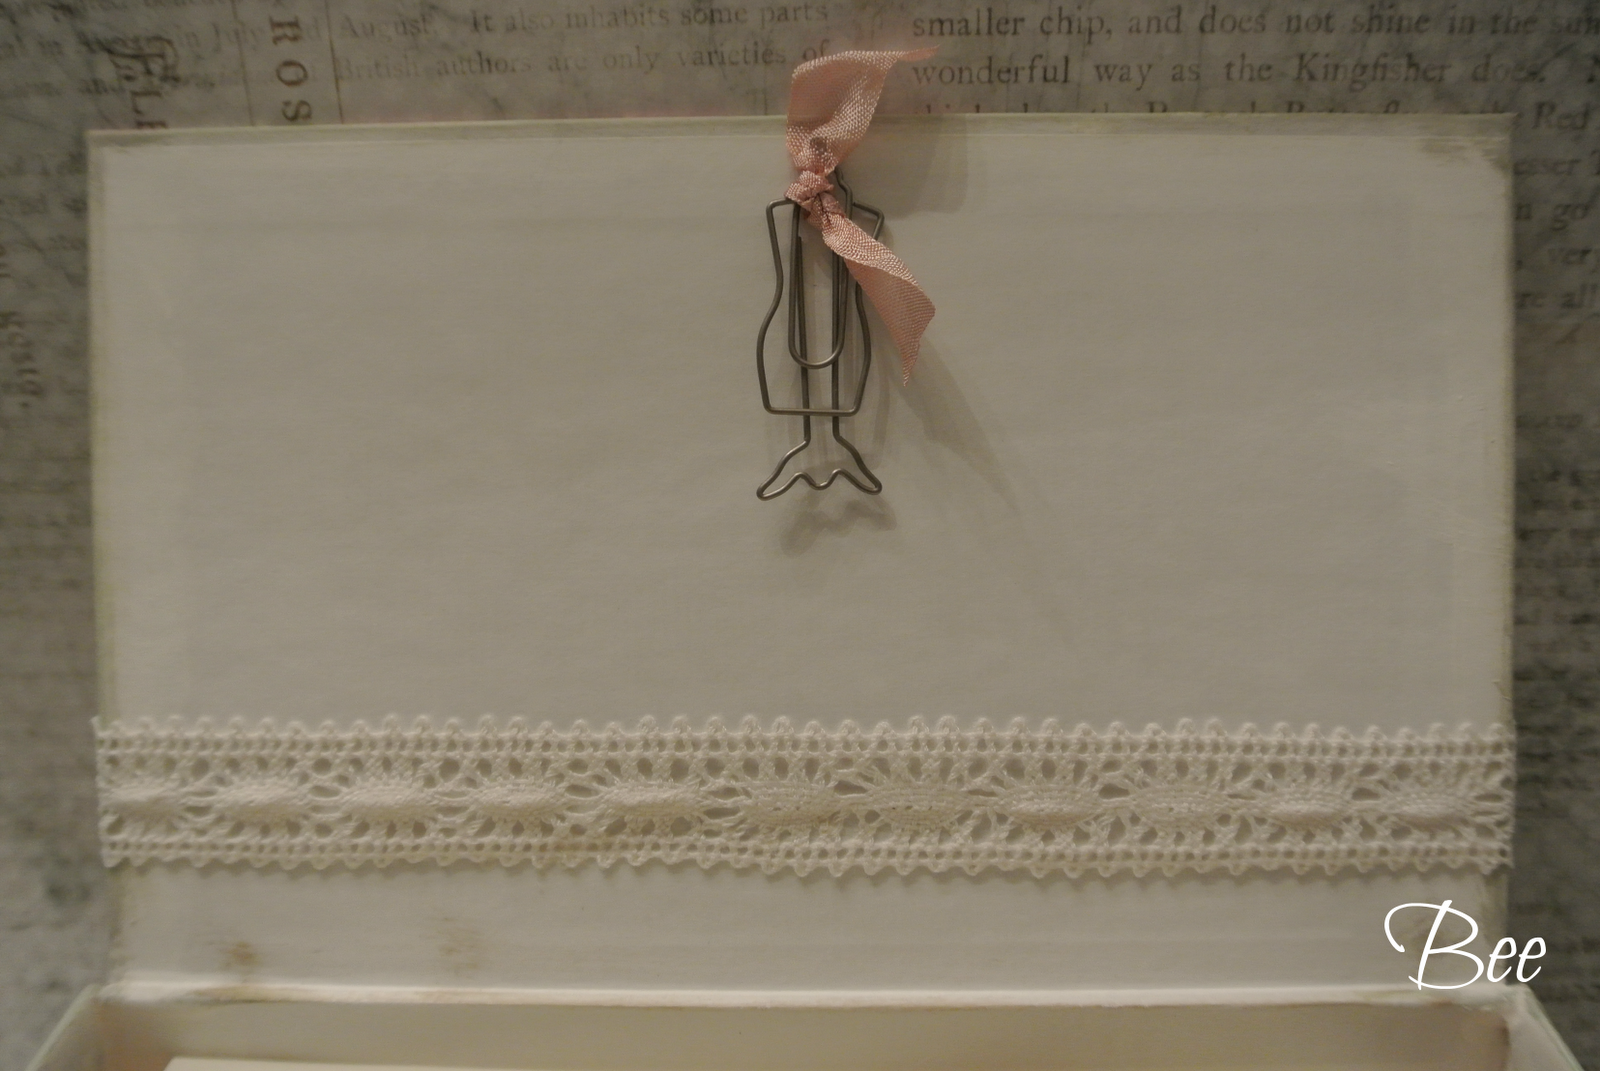
For this pennant I made a card stock template, and place it on top of a folded strip of muslin.  Pinking shears left a nice edge that would not unravel.  I sewed along the sides  and bottom leaving an opening at the top of each side to run a piece of twine through for hanging.  Next a bulldog clip was sewn by hand and tied with a bow.  I decided to use the clips so that after graduation, this bunting can be used for anything.

For today they nicely hold first day of school photos K- 12! Burlap bows tied the ends.  I wish I had a photo of the entire bunting, but I was caught up in the excitement of the day and this is the best I can do for now.


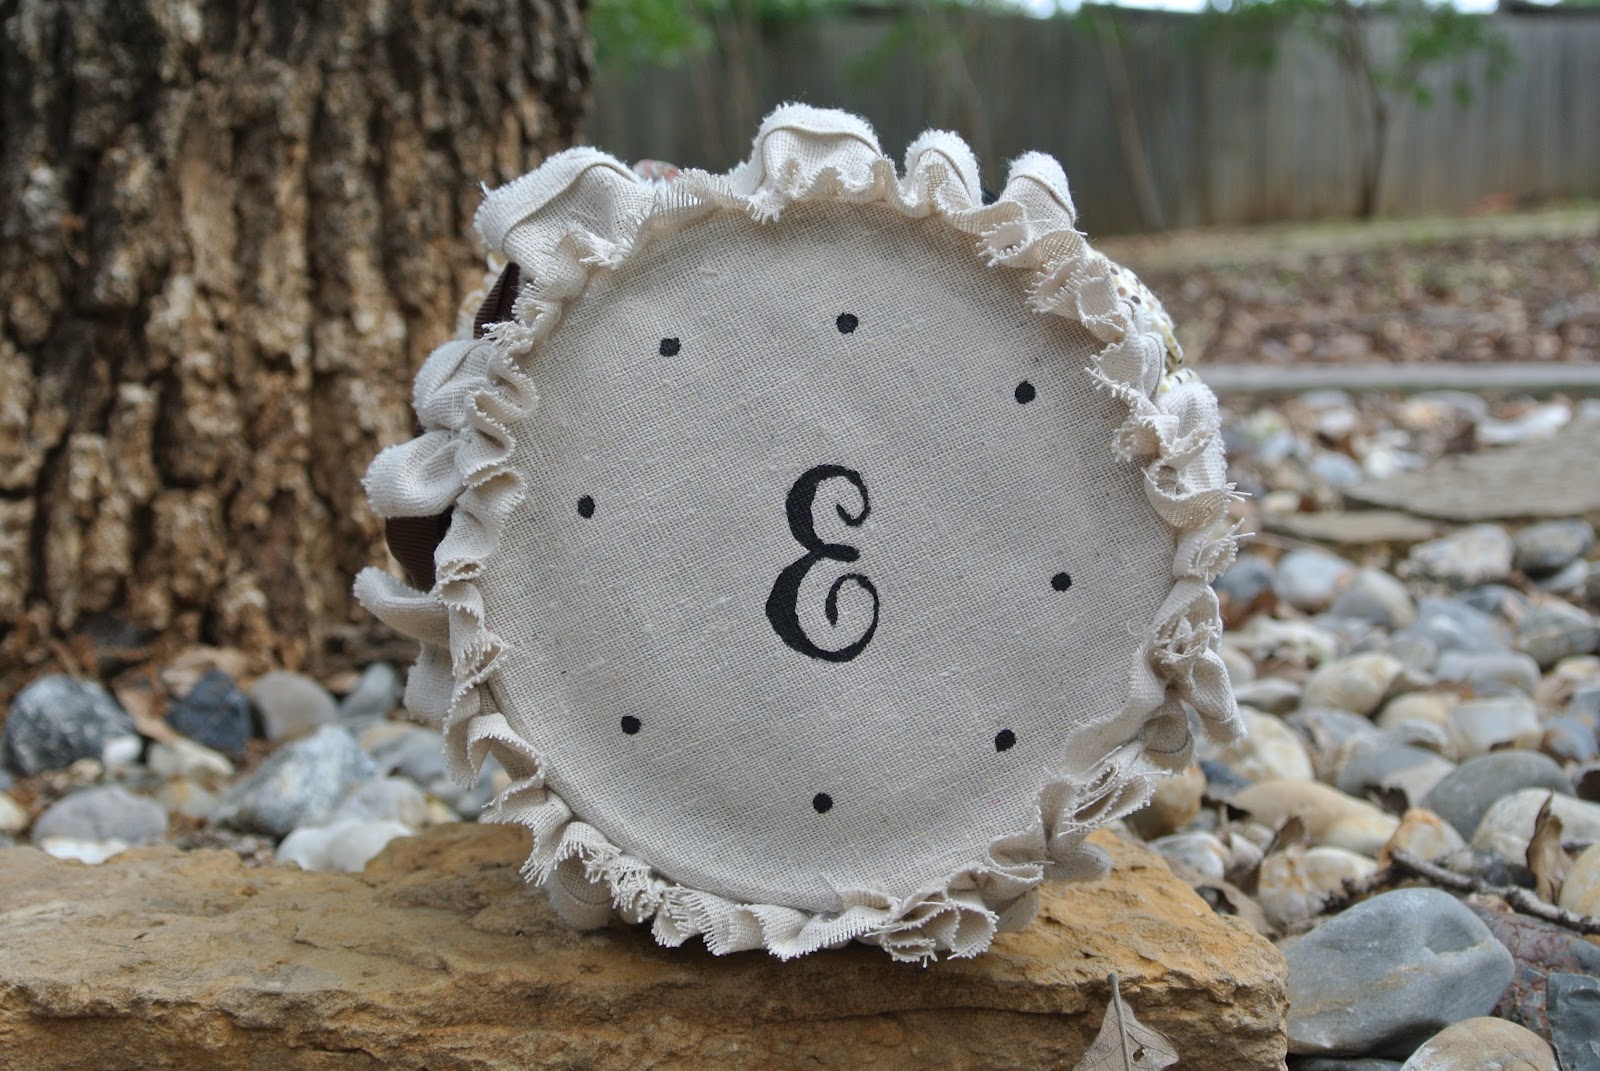
 Each pennant has a photo with a rosette  (Tim Holtz mini rosette die) and a stamped letter or number, reflecting the school year it was taken.


The little ties ensured that the pennants didn't smush together.  Smush is a word, right?

Next we had about ten of these little burlap wrapped jars that featured photos of the graduate throughout his years in school.


Each centerpiece held four photo and a little rosetter with 2012 in the center.


The jars were combined with framed senior photos on one large table.  I loved having all the guets around several tables pushed together into one big square.  Everyone could see and talk to everyone else. 

Now on to the favors.  For me it is very important to me to thank guests who have taken the time to celebrate special occasions with us, I wanted the favors to have a photo of Joshua that could be kept seperate from the gift and I also wanted to do one gift per family. 

Mason jars filled with homemade chocolate chip cookies, fit those requirements nicely. And...YUM!  For these little treats a muslin ruffle was sewn to a gingham ribbon and tied around the neck of each jar.


Photos were attached to magnet sheets and then cut into circles with my Sizzix Big Shot .  It was so great because they stuck to the top of the jar, but could be thrown on the fridge later.


A little tag thanked the guests for coming.


It was a wonderful party!  One last photo that really has nothing to do with crafting, sewing, decorating, or crocheting...Here is a picture of me and my boys just afer graduation.  I'm thinking I may need to hire a photographer to follow us around for college grad ceremonies :) We didn't get one picture of the four of us all day, Yikes!


Enjoy your week everyone!
j


linking up at It's Overflowing
# 221

 it's OVerflowing
and

Photobucket


Thursday, May 24, 2012

Headband Holder - Covered in Muslin, of course!

In April a friend and I took a trip to First Monday Trade Days in Canton.  You may remember this post where I professed my love for the Santos statue I found that day.  On the list of treasures we hoped to find, was a headband holder for my friend's daughter.  We searched high and low but found nothing.  So I though I would try to make one for her and this is the end result.

It was a super quick and easy project.  This is a can from protein drink mix, but any can about this size will work.  Start out by tracing the lid and cutting out the circle, leaving a little extra to cover the edge.  Use a stencil or free hand a monogram.  The dots are just the end of a paint brush dipped in paint and dotted on the fabric.  Set that piece aside to dry. 


Now you can hot glue a little cotton batting to the body of the can and cover with fabric. (muslin was used here - SHOCKING! I know!)  then cover the raw edges with  ribbon.  Next head on over to the sewing machine and make a quick strip ruffle.  All you have left now is to cover the lid with the monogrammed piece of fabric,  glue the lid to the can, then glue the ruffle around the edge.  And there it is...a headband holder.


It can also stand upright if you prefer, but I found that the headbands keep it from rolling when it is placed on its side.  One note if your can has a metal ring on the bottom you may want to apply a clear coat of polyurethane or my favorite go to "glue all, cover all, protect all, fix all" Glossy Accents  around the bottom so that if it gets wet  - no rust on your bathroom counter.

I have one more headband holder idea floating around in my head, but for now I would love to know how you store headbands around your house.

Have a great Day!
jamie

FYI - find this project and over 300 more at the 36th Avenue and Crafty Scrappy Happy Me  linky party!

 The 36th AVENUE  Photobucket

Saturday, May 12, 2012

Lovable Links Edition 4

Good morning everyone!  Today's post makes me twice as happy as any other post.  It combines two of my favorite things...1) learning how to do something new  2) learning how to do something new for FREE!  Whoopie!  I love the look of watermarks that other bloggers use on their photos.  I thought that the photo editing software that came with my new camera would include that feature, but unfortunately it did not.  I was actually planning on running out to buy photoshop this week to work on some of Josh's graduation photos.  And then (drum roll please) I came across this post from My 1929 Charmer .  And voila.


Why didn't I know about this before I did Joshie's invitations?


I just selected a random photo from a previous post and added the blog name.


It took me about 90 seconds to add text to these three photos.  Super quick, super easy, super FREE!

Be sure to check out PicMonkey .

That's all for now, I'm off to learn about adding frames and other features to my photos!  If you try it be sure to let me know what you think!

j


Wednesday, May 9, 2012

More Muslin!

Hello everyone!  I hope you are having a great week.  I'm back to share another sewing project with that seemingly endless supply of muslin hanging around my work room.  Today I am showing a slipcover I made for the ottoman in my bedroom. 

 (that's my lovely assistant Joe)

It is just basic box construction on the top.  I placed the muslin on the ottoman and pinned the corners.  Just simple straight sewing after that.   I was thrilled to have enough of the little fringe edge to use on the ruffle!  Simple, inexpensive and washable, yea!

This was my first slipcover and although it took me the better part of a day I was pleased with how it turned out!

Have you every sewn a slip cover?  I would love to hear about it!

toodles, j

Sunday, May 6, 2012

Lovable Links Edition 3

Hey Everyone!  Just a quick post you send you in the direction of a really great linky party.  Aimee at It's Overflowing has about a million great ideas linked up on this page.  My muslin bee card is one of them.  Check it out if you get a chance!


Until next time,
jamie