Experiencing beauty in your creative life

Sunday, September 4, 2011

Have you ever been so sure you were right...

that even when found out you were wrong you still remembered the facts incorrectly?  That is what happened to me last year while playing Secret Sister with my fellow teachers at The Children's Place.  I had no doubt in my mind that I knew who was my SS.  I was so sure that I purchased a monogrammed note pad and made a special necklace just for the person that I KNEW was my SS.  All to find out at the end of the year luncheon, that I didn't know at all.  I was shocked to find it was someone else.  She said she loved the gifts even though her name began with "T" and the note pad was had a monogram "M".  What a sweet girl.  So I ran home that day and whipped up a little something special for her and here it is.
  I made her a 6 X 6 card that held a special little broach, that I knew she would like.  I used my Tim Holtz Sewing Room die to cut the dress form and those wonderful stamps from Papertrey Ink .  I  absolutely adore dressing up this dress form with papers and jewels.  It's like barbie for grown ups!  Miss "T" seem to like her gift.  She put her broach on her sweater the minute she opened it.

The crazy thing is, when I see some of the cute gifts that I received last year I still think of that wrong person for a moment and then have to remind myself from whom it really came.  Have you ever been that sure about something only to find out your were way off base?  I would love to hear your story. 

Enjoy your long weekend!
jamie

P.S.  Don't forget about the drawing for donations posted on 29th.  Just 5 more days left to enter.

Monday, August 29, 2011

Make a donation, enter a drawing!

Hi friends!  Today's card is a little Breast cancer awareness project.  It is a pretty basic card with a very important reminder.

  As most women today have, I have had breast cancer touch my life though the diagnosis of two friends.  I am thankful to the Susan G. Komen Foundation for funding research that has been key in treating these friends of mine and keeping them in my life.  One of these friends is Nancy Firchau.  She is celebrating five years cancer free by participating the 3-Day for the Cure.  It is a 60 mile walk that takes place over three days.  Fundraising in this tough economic climate as proven to be quite challenging, so I thought I would throw in a fun little twist.

If you go the The 3 Day, click donations, find Nancy Firchau's page, and make a donation, you will be entered in a drawing for this the group of goodies.
The package includes one CTMH My Creations Display Album, one set of K & Company - Grand Adhesions Dimentional stickers (8 pieces), and one set of Ki Puffies fabric stickers (5 pieces).

When you have made your donation, leave a comment here or email me and I will add your name to the drawing.  All donations made between now and September  9, 2011 will be elidgible to win.

I had the good fortune to walk in the local race for the cure last year, and had such a great time.  Here is a picture of the group I walked with that day.

Thanks for considering contributing to this great cause.  Be sure to let me know when you make your dontation so that your name goes into the drawing!

Have a great day!
jamie


Saturday, August 27, 2011

Gift Card in a Box

Good Saturday afternoon everyone.  Today I want to show a little project that I came up with this summer.  I love to give gift cards to friends for birthdays.  I know it's kind of boring, but this way I know they get something they really want.  I came up with a fancy little gift card box to add some pizazz to an other wise pretty uncreative gift.  The entire box was assembled with paper and chip board, so as for the base of the box nothing outside of the normal craft room supplies needed.

This is the top of the box.  Embellished with some of my favorite goodies.  Resin Crown by Melissa Francis, cute seam binding ribbon and a great felt flower I made using a flower die from My Favorite Things, it cuts felt like a dream.


Next I am showing a picture of the top of the box with the card open.  I assembled the box so that the card was just a flap on top on the lid.  Nice and tidy, all one piece.


This photo shows the inside of the box,  sorry for the reflection.  I loved having the rhinestones as part of the hinge, but they made photo taking tricky.  The gift card sits in the bottom of the box (on top of the blue ribbon).  The tail of the ribbon is visible and with a slight pull it helps the card pop out of the bottom with ease.


Lastly, my box all dolled up and ready to give.  I am crazy obsessed with Cellophane bags.  They really add to the presentation of any gift. 

That's it for me today...I have a long list of chores to accomplish this weekend - fortunately I added "make something good" in several different spots on the list (wink).  So I should have more to share at the beginning of the week.

Thanks for making me a part of your weekend!
jamie

Wednesday, August 17, 2011

Back to School with more digital images

Happy Wednesday afternoon!  School starts here in North Texas on Monday.  I always like to give my nieces and nephews a little treat to wish them well on their first day.  This year I came across some great digital images on line and decided to create the gifts around these images.  Thanks to the girls at eighteen25 you can find the printable images here and here.  After you check out the images give their blog a visit, it's full of super cute ideas.

Anyway with the "sharp" theme in mind, I went shopping and  was thrilled to come across these little tubes of colored pencils at Michael's.  They were only a dollar a piece!


They did have a sticker holding the lid in place so if you purchase them be sure to have some undu on hand.  It was a little sticky but didn't take very long to remove them.  Then I used the images I printed to decorate the tubes and attached a little tag.  I love the fact that I could change the sizes of the images and designs to custom fit my project.


Super fun and super easy!  I can't wait to deliver these little goodies! 

Do you have any back to school ideas?  I would love to hear what you are planning.

Thanks for stopping by,
jamie 

Wednesday, August 10, 2011

The cutest thing I have ever seen...

No it's not something I made, but something I came across this morning while reading email.  I should definitely add that had I owned this hat - in blue -  when my boys were babies, I know their pictures in it would have been cuter (wink). 

This was on an ETSY sight you can find here.  Along with some other super cute hats and headbands for little ones.  Are you dieing?  She just makes me smile.

Photo credits: Ann James Photography


Now on to a little stamping...

I am still using this little silhouette stamp more than anything else I own right now.  Every time I start a project, especially when I am using those vintage inspired digital  papers by Iralamija,  I look down and find this stamp in my hand.

The super cool thing about this card is that the six smaller papers behind the main image are actually one panel.  So instead of measuring, cutting and piecing six different pattern papers you need only cut one piece.  So easy and I am pleased with the out come.  "Easy" and "happy with the result" rarely go together when I am stamping and I'm delighted to finally use them both to describe a project. 

Short and sweet on the inside. 

Have you been working on any quick and easy projects of your own lately?  I would love to see what you have been up to.  Email me a photo and I will post it here.

Thanks for stopping by!

jamie
 

Monday, August 1, 2011

Banners & Silhouettes, I'm hooked!

I am in love, love, love with the silhouette stamps that I see these days.  If it features children add one more love to that statement.  Here I combined the banners, children's silhouette stamps, and a favorite new find of mine...digital images by Iralamija.  Each banner is made with a different digital image I purchased from her  Etsy shop.  (Click the name above to go to her shop)


I have been a little leery of digital images in the past but really couldn't find any shabby chic style papers at local craft stores.  So I took a chance and bought a few.  Then I went back and bought a few more.  No waiting on that stinky old UPS man either, she emails them to you within 24 hours of your purchase.  They print out beautifully, you can resize them and print them as much as you like!  You can let go now, you don't have to hoard papers for fear you "will want another piece of that beautiful sheet music with the roses behind it" and not be able to find it.  It is on your computer!  Can you hear the angels singing?

I enjoyed making this card so much I decided to keep the blueprint and enlarge it a bit to make a cover for my lesson plan binder.

Yes!  Those scrabble tiles are some of the images she has available.  Is your heart leaping with joy?  I printed mine on regular copy paper, cut out, glued them to chip board squares and distressed the edges a little.  I can't wait to do lesson plans now.  If you plan to make a project with dimension for a binder cover I suggest making it about 1/2" to 1" smaller than the size of the opening.  That way there is enough room in the plastic sleeve for anything extra thick.

I hope your week is off to a good start!
jamie


Saturday, July 30, 2011

Scraps are Super!!!!

Good morning everyone!  I have been trying to make at least one Birthday card each day for the last week or so.  I have been pretty good about it and my birthday card box is filling up quickly.  I love to have a good supply, so when I need a card and don't have time to make one I have lots of options to choose from for the special Birthday Person.  This is a little card I whipped up in about ten minutes.  No kidding!  I used some scraps from my black cardstock file, a great PTI stamp set and the card was finished in a snap.


And because the card front was so quick and easy...I played a around a little with the inside of the card.


Everything I used was a scrap, no full size sheets of paper or rolls of ribbon needed.  I love that!


So then this morning while doing my weekly Saturday Morning Blog Reading Session I was thrilled to read this great post by Betsy Veldman .  It's a great article about organizing and using your scraps.  Take a minute to see what she did...I know you will love it.  If you decide to make some of your own scrap paper sheets be sure to let me know how it works out.  I will definitely be giving this a try today (or soon anyway). 

Have a great weekend! 
jamie

Monday, July 25, 2011

Mixed Media...Mixed Emotions

I love paper!  Probably a little more that I should, but it just calls me.  So when I started this mixed media canvas for my Great Niece Macy, of course I started with papers.  I painstakingly scoured my collection of papers for hours to find just the right patterns and textures for this project.  I painted the canvas background and then began decoupaging the paper.  Making sure each design was placed in just he right spot.  Then as with any mixed media project I began layering with paint, pieced paper images, glitter and embellishments.  I was pleased with the end result, but something was bothering me, the papers I had so carefully chosen, were not the prominent fixture in the piece I thought they would be.  Then it came to me, if you look closely you can see the pink roses, green gingham and vintage labels that provide the backdrop for the Princess Bear.   I now realize  they are a hidden treasure in the artwork.  Which makes me very happy. 


Here is Macy - On Christmas morning with her sweet mom and dad (Lainey and Eric). 

Happy Birthday Macy!

Thanks for stopping by to look at what's been happening around here!  Have a great week! 
jamie


Thursday, July 21, 2011

Divide and Conquer

That is my strategy as far as organizing my jewelry this summer.  It's no secret I love jewelry, and also no surprise that I really like to keep it organized.  We recently purchased a small dresser at Kirklands (click the link to see the cute black dresser on their web site).  It is only 12" deep so I thought it would be a great place to store my ever growing collection of jewels.  I looked at several different types of organization trays for jewelry but wasn't able to find anything I was in love with...so I did what any crafty girl would do...I made my own.  I started by making three different size boxes. You can find the tutorial here.

Large, using 10" X 10" paper 
Medium using 8" X 8" paper
Small using  6" X 6" paper


Here they are in one of the drawers...

from a different angle...


I'm not sure if you can tell, but the drawers are deep enough to stack the boxes two deep.  I filled the drawer completely with boxes from one end to the other, and then assembled the top layer.

I glued six of the boxes to a piece of chip board so now what you see pictured above is one piece that sits on top of the first layer of boxes.  I made two, which allows me room to slide them from side to side or just lift out this grouping, so I can view the jewels stored in the bottom layer.

This is a picture of the small boxes, they are great for rings, pins, earrings and smaller pieces.  They fit in the drawer three deep so for the top layer I joined nine boxes.


And since you got a little shot of my assisant's behind in one of the photos, I thought I would give you a more flattering view.  He's quite dependable and works for treats.

Jack


Do you have any creative ways to use these little boxes?  I would love to hear them!

Have a great day!
jamie

Sunday, July 17, 2011

Free 8 X 10 Canvas! Yippie!

Good morning!  I want to share a wonderful deal with you today.  Right now at canvas people  you can get a free 8 X 10 photo canvas or $50.00 off of a larger size.  At the beginning of the summer they were running the same offer and I order the canvas pictured below.  I LOVE it! 
 Happy shopping!

Yours,
jamie

Saturday, July 9, 2011

Just a little Birthday card

Happy Saturday everyone!  I hope you found a way to stay cool.  Today I worked on a light box project.  It is supposed to help with lighting issues when taking pictures of cards and other projects.  I decided to try it out with this little birthday card I whipped up the other day.  It was definitely one of those ten minute or less projects. I really need to work on my stash of birthday cards, the options left in the card box this last month have been very few.

I think I like how the photo turned out...The rustic look of my backyard landscape didn't really match my stamping style.

Enjoy the rest of your weekend!  Thanks for stopping by,
jamie

Sunday, July 3, 2011

Happy 4th of July!

I hope you are all looking forward to the 4th as much as we are around here!  Thought I would share a little holiday card I made with you.  I really love the children's silhouette stamps that are out right now.  I picked up this one by Hero Arts at Hobby Lobby.  It gave me the feeling of a good old July 4th parade.  I combined it with the beautiful Americana papers by K & Company.  I love the traditional Independence day themes they used. Mixed with a few unexpected patterns and colors I think they produce really fresh looking cards and projects.


The blue star and red dot accents were made using a technique called "pebbles".  I started with a round red circle and a blue punched star.  Cover the entire back of each with glue dots and trimmed off the excess.  The circle didn't require any trimming.  Then I placed them on a leftover piece of paper from the glue dots.  (this way they will be easy to remove and put on projects when they dry)  I applied a light coating of CTMH liquid glass.  It only took a couple of hours to dry. I love the dimension and shine they add to my card. 


Have a happy and safe day tomorrow!
jamie 

Sunday, June 26, 2011

C is for...

If you know me well you might be thinking cookie,  (which would be an excellent guess) but another very obvious answer for me is COASTER.  I have many antique pieces of furniture in my home, many of which I spent days refinishing so coasters are a common sight around here. I'm not sure what made me try this, but I never want to stamp on anything but tile again!


Easy peasy project...tumbled rock tiles, stazon ink and a few cute stamps! 

I am definitely getting a good workshop vibe from these...Let me know what you think.

Have you been stamping this summer?  I would love to hear about your latest and greatest projects.

Have a super week!
jamie

Sunday, April 17, 2011

Does Absence Make the Heart Grow Fonder?

I sure hope so!  It has been several weeks since my last post.  It's not that I haven't been creative...it's just been so busy in between the creativity.   Things should start to level out for me this week, so I thought I would get off to a good start by posting a little something.  One of the fun projects that I have been working on is some cute little birthday candy for my niece's daughter's first birthday.


These are so easy to make.  I did it with my Print Artist program, but I think any graphic program would work.  What I like best about this project is that it is very versitile.  You don't have to just limit yourself to birthdays - Think weddings, anniversaries, luncheons, end of the school year parties - the possibilities really go on and on.   For these I used silver wrapped Hershy's nuggets. I measured the width of the candy which was almost 1" and then the length I would need to wrap the paper around the candy was just around 2 1/4".  For the design I just googled a cupcake image and copied and pasted into Print Artist, added a border, some text and voila...a party favor is born!  If your graphic program has a business card template it works great to design these.  Just use about half of the width and three quarters of the length of the business card template.  Remember to print one out and double check the size before you go crazy printing loads of lables that don't fit.  It took me about three tries to get the size and feel I was looking for, patients pays off here.  Luckily for me it was a day that I had some, with anything creative patience is not my strongest virtue.

Here is a quick pic of Harper and her parents at Christmas this year. 

Happy Birthday Harper! 

Congratulations to Katie and Austin (proud parents)!
Have a great week!
jamie

Tuesday, March 22, 2011

Registration Deadline for March workshop is Tomorrow - Wednesday

Hello everyone out there!  Just a quick note to remind you about the workshop deadline tomorrow, March 23.  It's going to be a fun one, so be sure that you get your registration in soon.

Can't post without some kind of artwork so here you go...I decided to keep all of my Christmas sketches and ideas together and wanted a Christmas journal, but not the Christmas that knocks you over with red and green.  This was the end result, nothing like the blueprint that I started with, of course.


Hope to see you at the workshop on Friday!
Have a great night,
jamie

Friday, March 18, 2011

March Workshop Project & Details

Hi everyone!  I hope your spring break has been as great as mine.  I love it when you have enough time to do the things you need to do, plus lots of time to do the fun stuff.  That's why I am a little late getting the details for our March workshop posted - I was having way too much fun this week!!  But here it is... first things first though,

Jana Baker if you are reading this before Sunday, March 20, Close this now!  It will spoil your birthday gift!!  :)

If you are not Jana, scroll down to see all the photos and details for the project.

*

*

*

*

*

*

                                                                
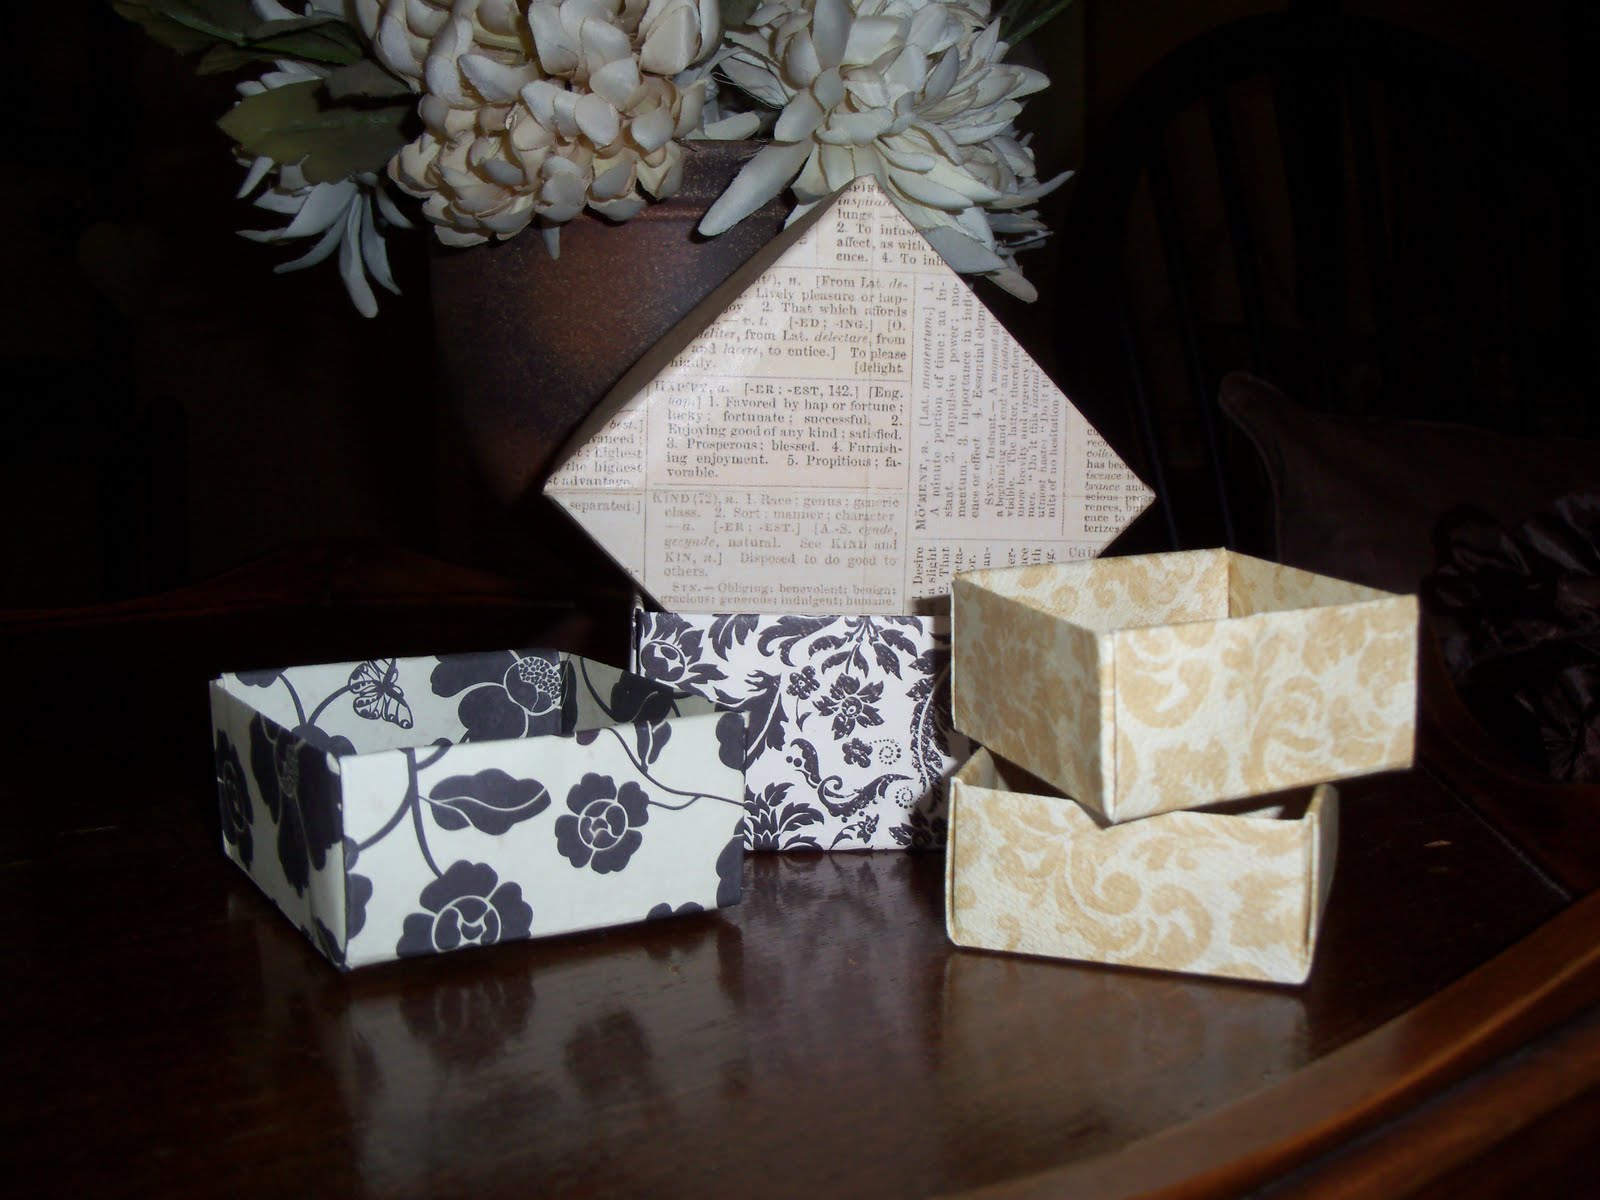
I have had several requests for this cute little stationary box ever since we started back to workshops in January.  There will be a couple of color choices available.   A limited number of packets with each color scheme will be available.  Arrive a little early to get the first pick. 

Above is the box with lid closed. Next is the view of the open box with cards and tags.  This box holds 2 (A2 - invitation size) cards and envelopes, 2 (3"X2") gift tags, and 2 (3"X3") enclosure cards.  In addition it has a built in book for recording birthdays and special days and holds a small book of stamps.


Close up of A2 size card and inside.


Close up of second A2 card and inside.


Close up of the 3"X3" enclosure cards, and insides.


Close up of the birthday book and postage holder.


Close up of gift tags.


Yep!  We are going to make all of this!  Can you believe it?  I hope you can join us.


Date:  Friday, March 25
Project:  Stationary box shown in this post
Place: Jazzercise of Denton (let me know if you need directions)

Cost:17.00  Please let me know if you would like me to email you a paypal invoice.
RSVP deadline:  Wednesday, March 23

Supplies needed: Basic paper crafting tool kit, a needle and about 20" of nuetral thread, your sponge dauber and distressing ink if you like to ink distress your stamping projects and the following will help you have great success with this project. 
1. Terrifically Tack Tape - That super sticky red double sided adhesive tape.  If you have non stick scissors they are really great with this product.  If not be sure that you have a pair of scissors that are for cutting this tape only.  It can get messy!
2.  Small glue dots - I used the "mini Dot n Go" glue dots.  I got them at Michael's (who also carries the super sticky red tape.)  These glue dots are perfect for adhering all of the little rhinestones in this project.

This is a super fun project - When you are finished you will have 2 (A2) cards and envelopes, 2 enclosure cards, 2 gift tags and a box to store them in that includes a birthday book and postage storage.

Have a great weekend & Thanks for checking in today!
jamie

Sunday, March 13, 2011

Spring Break, imagine the possibilities!

I woke up yesterday with the wide eyed enthusiasm of a teacher with an entire week off ahead of her, to create what ever she can image.  And boy could I imagine...I planned a little do-it-yourself studio organization project and I commited to imurse myself in creativity by working my way through my list projects from my Saturday morning blog reading session.  By noon I discovered after 5 coats of black spray paint my do-it-yourslef project was going to take a little more time (brush and bucket of paint time) to finish and when I went to print my lovely list of projects collected from blogs that morning I found myself with 35, yes I said 35 pages of projects.  I don't like to be a downer, but this list would be daunting for Martha Stuart!  So I was thrilled to find a few emails requesting the pattern for the crochet glasscases in my last post.  I'm not giving up on my lists and project, but it was nice to have a distraction for a little bit.  I usually just crochet as I go and don't tend to write down patterns.  Which can be tricky when I love something I made and I want to make it again.  Ugh!  I started a new case yesterday and acctually wrote the pattern as I worked. (Clap for yourself Miss Jamie) If you are some kind of crochet expert, I am going to ask you to look away now - I have never written a pattern and this might be a little scary for those who are pros, never the less here it is.

Supplies:
1 ball of cotton yarn (I use "I love this yarn", it's super soft)
crochet hook: the one I used says USI9, 5.5MM (I have no idea what this means, it is just the hook that I had that best fit the yarn I used - see why I asked the pros to look away?  They would be in tears right now!)

Pattern:
Chain 12

Round 1: Beginning in the second chain from the end, single crochet in the next 10 stitches,  In the last stitch work 3 single crochet.  Work 1 single crochet in the back loop of the oringinal 8 chain stitches.  Work 2 single crochet in back of last chain. 

Now you should be back at the first single crochet.

The following rounds just continue in a spiral adding length to the case.

Round 2 - ? :  single crochet in each stitch until you have the case about 1" shorter that you would like the finished product to be, I usually have a pair of glasses handy so that I can measure.

Round ? - ? : Chain 2 then double crochet in each stitch all the way around.

Finish off with 2 rounds of single crochet.  Tie off and weave ends through.

I would love to know if anyone out there can follow this.

Picture for reference

I have had some requests for a basic crochet workshop - I would love to hear from you if you are interested.  If I have enough to participate I will add it to the calendar.

Enjoy your break - and learn from an expert...don't make your fun list to long!!
jamie

Saturday, March 12, 2011

Nothing is certain in art, at least in my studio!

Promises, promises.  I should never end a post with next time I will... - It's not that I  don't want to follow through, it's just that for me a plan to make something never ends with that same idea.  Last week I posted the bingo get well card, I said I would be trying some girly stamping with the set and post it when finished.  Well, I sat down and started out with a plan to do just that and this is what I ended up with...
                               
Surprise!  It's not a bingo card, not even a little close.  But I love it just the same!  I crocheted this little eyeglass case to go with it and I am truly in love. 

And so it went that day of stamping, filled with button cards, bows and eyeglass cases.

Those of you who teach preschool know that we always say it is about process, not product and so now I see that is the case for me.  I love to have something in mind as I get started, but the real treat is to see the evolution from the first idea to the finished product.  How about you?  Do you start with a plan and follow it to a tee, or do you wind down a wandering path and see where it leads you?

Would love to hear about your creative process! 

Have a great weekend,
jamie

Saturday, March 5, 2011

Oh What a Week!

I definitely try not to wish my life away...but I am really ready for tomorrow.  This has been the busiest week of the year by far here at the McCormick household.  Bodine has been in Destin, FL. on his annual golf trip, so with one less driver, a few very poorly planned doctor visits and the opportunity to sub on Thursday I am really glad that the weekend has arrived.  I was busy today catching up around the house after the crazy week, but wanted to share a  project with you before the glorious day of rest I have planned for tomorrow.

This little card is one I made for my son Jacob.  He is away at Tyler Jr. College right now.  I have to say the transition to college has been pretty smooth for us.  Bodine and I were just so excited for Jacob and all that his future holds that we didn't have a lot of drama surrounding his leaving.  Aside from the occasional call that goes, "I don't know what happened!  I had money in my account and then a few days later I didn't!" (which I understand is pretty common)  everything was great until last week.  Jacob called from the TJC nurses office - he's a boy so that should explain the next part - he was sick, he didn't know what he had, they gave him a prescription, for what?  He didn't know.  For me Tyler suddenly felt 100,000 miles away.  Don't get me wrong, those of you who know me know that I am not the kind of mom that lets her children lay their head in her lap while I dab it with a cool rag.   But,  I just wanted him to be sick here, in his own bed, where I could at least check in every so often.  Anyway, I made it through the first bump in the road and he did too.  He is busily planning his spring break trip and feels back to his old self.   Masculine is really not my area of expertise, but I think I like how it turned out. 


This is the inside, I wrapped the ribbon around the inside of the card so that I had a little spot to stash some cash and a gift card.


I really love this new Bingo Alphabet set from CTMH.  It comes with a ton of stamps A-Z letters, numbers 0-9, a heart, star, circle and "free" to mark the center, and the grid.  I almost forgot it comes with a cute little flourish too.  I will include a pic of the set in my next post. I plan to spend some of my day off tomorrow stamping.  I am going to use this set with some very girly papers.  I am hoping to be amazed by the versatility of this stamp set.

Toodles for now!
Jamie